How to start a new project
Walkthrough for storywise
This guide is supposed to give you a general understanding of how to use storywise.
What do I use storywise for?
Storywise helps companies quickly turn customer ideas into clear software requirements - so they know exactly what to build and can estimate the work involved.
Quick summary on how to use storywise
- Create a project
- Add original sentences that describe what the software should do
- Use the Wizard to create Roles and then write User stories out of different perspectives as for what each role should be able to do
- finalize your project and determine the work needed
1. Create a new project
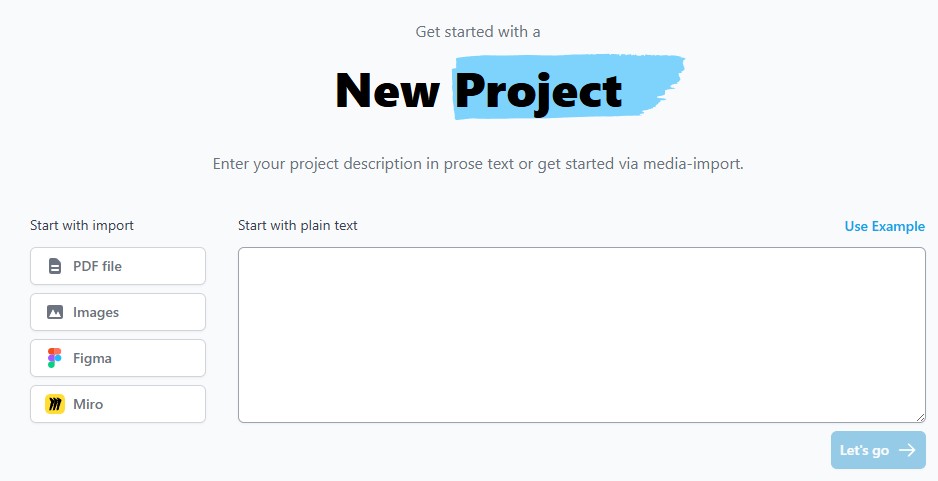 After the login to storywise, you should see the picture above on your screen. In case you don´t, simply click on the “storyw!se” heading on the top left side of the screen. Now that you´re in this menu, you can add your source material.
2. What´s source material?
Source material describes what you want to achieve with your project. For example, your client needs an App for food delivery. So as source material, you write what the future owner of the App wants it to be able to do. E.g.: “I want an App that helps me with food delivery. I want it to recommend local restaurants that offer delivery services. They should be able to choose whether they want to pay online right away or wait until the delivery person arrived and pay them. The workers that deliver the food should be able to check if a person has already paid or not. The useres should also be able to look at the reviews of a Restaurant and you should also be able to search for specific Restaurants and filter after ceraint types of Restaurants such as fast food, traditonal or asian Restaurants or maybe even after price categories.” You can write whatever you want here, you should just be careful to not forget about what your client wished for. Here´s an example of how your source material could look like:

3. Original sentences
After you wrote your source material, you click on “let´s go ->”. In the window that just popped up, you can name your project. Below that, you can choose what you want to create with storywise. The options are User stories and or a general requirement text. Here, we´ll explain how to make User stories. After you selected the window with the User stories and named your project, click on “continue”. The next setting is for how your sentences are getting splitted. You can simply use the option that was automatically selected for you and then go on “let´s go” again. Now here on the right side you should be able to see a section that is labeled as “original sentences”. You should be able to see the sentences you wrote as source material here that were seperated for better organisation. You can also delete sentences and add new ones if you don´t like the ones recommended by the system for you. You also have the option to add pictures from your pc that describe what you want the App to do. Based on the picture/s you added you can click on “generate” and AI will suggest sentences to you. Keep in mind that you can return to your source material at any point of time, in case you notice later that you still want to add something afterwards.
4. Epic Creation
If you go to the epic creation menu at the top of the page, you’ll see your original sentences on the left. Here, you can either let AI generate epics for you or create them yourself. Epics are basically summaries of your original sentences - they describe what you want to achieve in fewer words. You can use the AI examples as a guide. Here’s an example of how your epics could look:
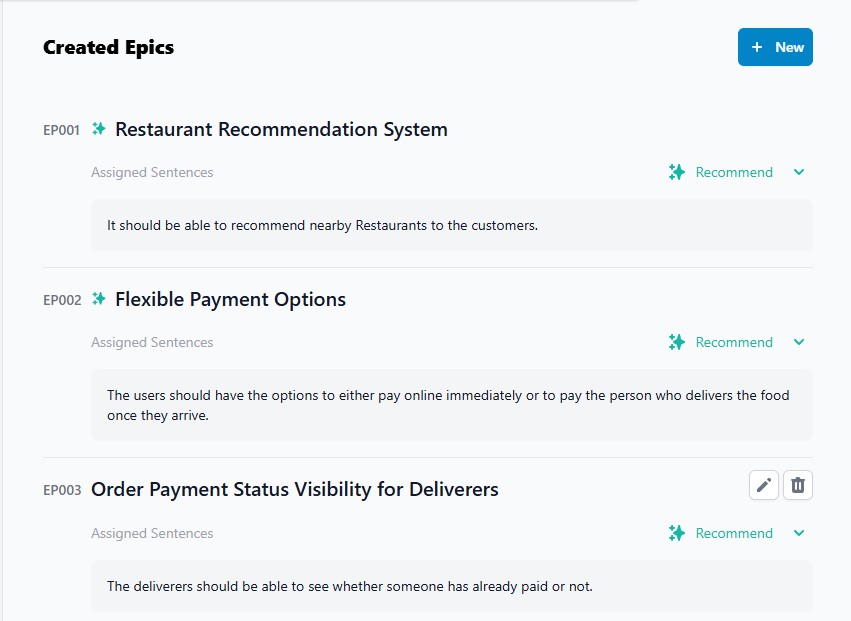
- Go to Epic Details for more details
5. Define various roles
You might wonder: Why do I need roles? Well, different people using your app will need different features. A regular user, an admin, and a business owner all interact with the software differently.
Take our food delivery example: a customer needs to browse restaurants and place orders, while a restaurant owner needs to manage their menu and track deliveries. An app admin might need to oversee all users and handle disputes.
By defining these roles now, you’ll create better user stories in the next step—stories that specify exactly who needs what functionality.
Here’s an example of roles you could use:
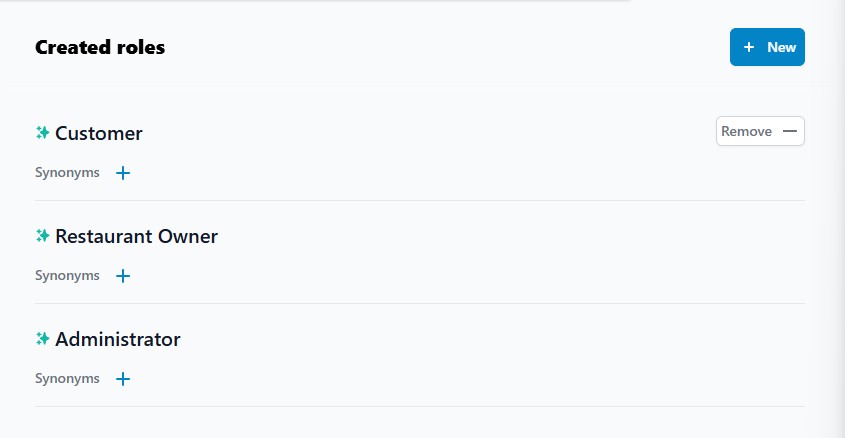
- Go to Role/Entity Details for more details
6. How to make User stories
When you enter the “story creation” menu, one epic will be automatically selected. On the left, you’ll see the original sentences assigned to this epic. You can switch to a different epic using the dropdown above the suggested stories.
Click “formulate” to have AI create “suggested stories” based on your current epic. You can use these stories as-is, edit them, or create your own.
To edit a user story, click on the field labeled “US001/2/3…”. Stories follow a standard format: First, choose a role. Then you’ll see a sentence structure like: “As [your chosen role] I want to [action] so that [benefit].”
Example:

In these spaces that are labeled as empty right now, you can write what you want to achieve as a customer. E.g.: “As customer, I want to be able to search for local Restaurants to have a short delivery way. After you created your User stories, you see a button on the right top of the screen that states “finish”.
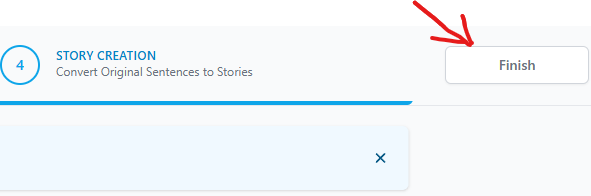
If you press that button, it doesn´t mean that you finish the whole project, you only exit the wizard and enter the epic overview. (See Story Details for more details)
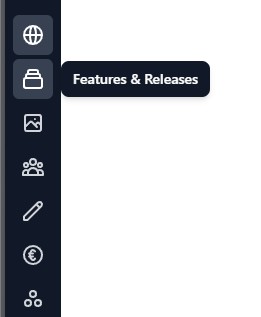
7. Features
At the “features and releases” section, you can create features and releases to help you with organization.
On the right side, you’ll see a “create feature” button. Click it to name your new feature. Once created, click on the feature to describe what it does and connect relevant stories or epics to it.
Why do you need features? Features help you organize and manage project scope. You can:
- Estimate costs - Group related functionality to calculate development effort
- Stay within budget - Disable non-essential features if the project exceeds the client’s budget
- Manage workload - Turn off features temporarily to focus on core functionality first
- Prioritize delivery - Separate must-have features from nice-to-have additions
- This way, you can adjust the project scope and costs based on the client’s priorities and budget constraints.
8. Releases
Releases help you to decide what stories you want to release in the current version of the program. This way, you can focus on the parts you want to release the soonest to not get them mixed up with other currently less important things. Go to: Features and Releases for more details
9. How to release a project
In the left menu, click the third icon from the bottom labeled “Document settings”.
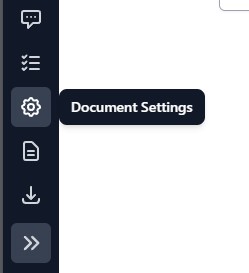
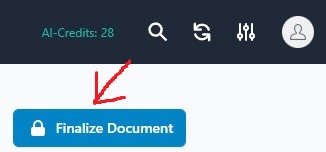
In this tab, you can add payment terms and set your hourly programming rate. Once complete, finalize your document using the button in the top right corner.
After finalizing a document, it becomes published. Published projects can’t be edited, but you can press “add new document” to create an editable version.
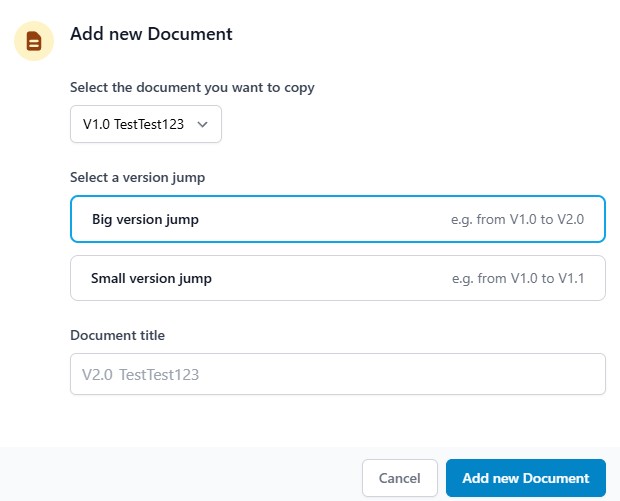
This creates a new version of your project, giving you a clear view of all changes.
Congratulations! You now know how to use storywise’s main functions.